Fujifilm announced the X-M5 last October. As the cheapest camera body in the X-series, it is positioned as the content creator camera — read “for video”. Looking at replacing my no longer working Canon G7X MkII for which an exact replacement was not available as Canon failed to deliver, either a MkII or MkIII, I felt that the Fuji could be the one. As I have already invested in the system, the interchangeable lens aspect is really a good proposal.
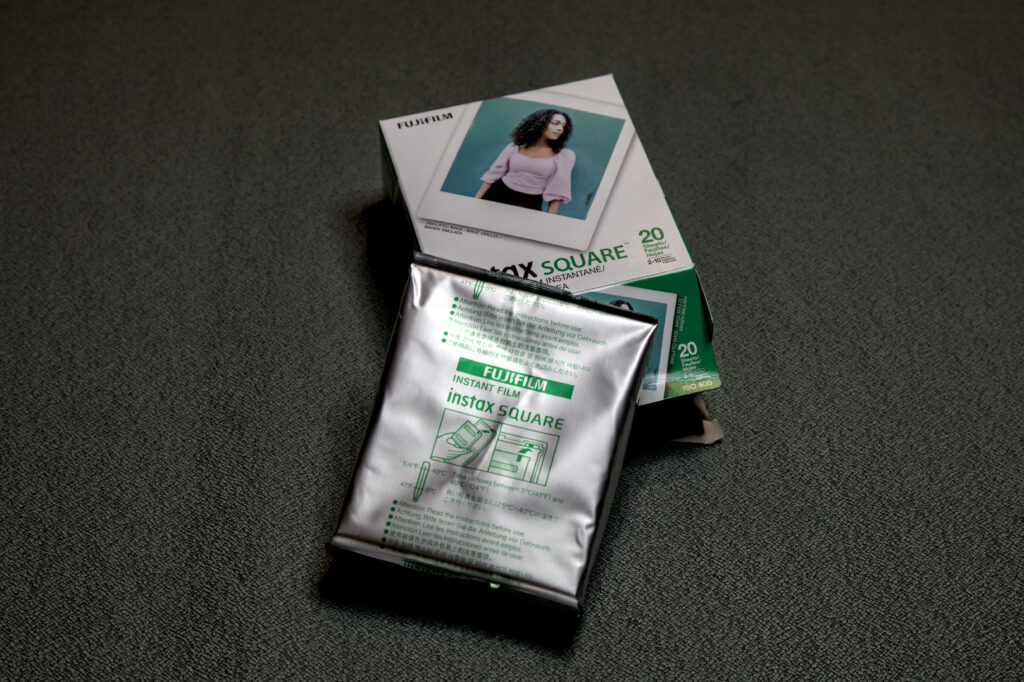
In late April, a month after ordering it from my local camera store, I picked up an X-M5. This is the “kit” version. It comes in a brown cardboard box, with cardboard form inserts to protect both the body and the lens, that are plastic wrapped. Previous cameras I got came in a black box, including the 27mm f2.8 R WR.
What’s in the box
– Fujfilm X-M5 camera
– NP W126S battery, barely charged
– XC 15-45mm f3.5-5.6 OIS PZ lens
– a Fujifilm strap
– Some papers with QR code
– Something about a software trial
Missing: USB-C cable to charge, or a charger, and a paper manual. In my case I do have a charger as the X-M5 uses the same NP-W126S battery as the X-T3, but I wonder how it goes with people that don’t already have that. I find that cheap to some extent.
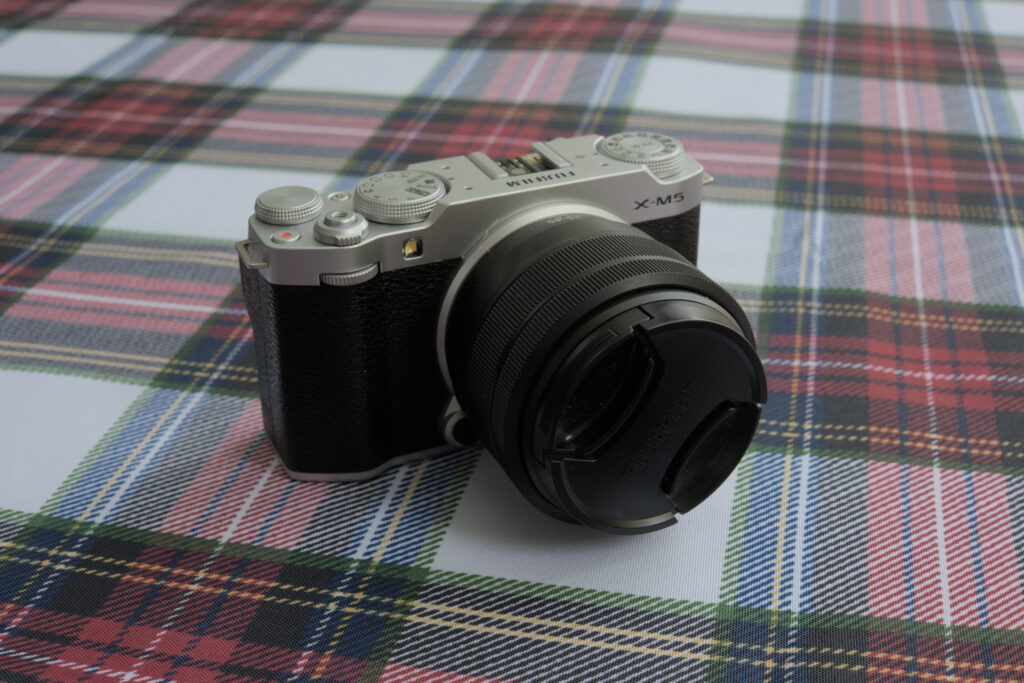
This is the silver version. I wish I could have gotten a black one, but it wasn’t available.
What’s not?
Just to get this behind us, as it was all over the internet chatter as this is probably the most criticism from the reviewers: the X-M5 doesn’t have IBIS (In Body Image Stabilisation). I believe it’s a choice to keep the cost down, and maybe the size. We won’t complain about it.
Ergonomics
The camera body is small. Really small. It comes with a fully articulated LCD screen that swivel 180° to allow back or front viewing. This is one of the feature I came for, even though I had never used one. In a quick test shooting stills with the LCD screen as a viewfinder, I found the tiltable screen on the X-T3 more convenient than the swivel out screen: if you need to orient the screen you have to flip out and rotate, giving the camera some sort of wing. This might be more versatile, but it neither is discrete nor compact. However if you need a screen facing forward this works great. The side is not encumbered with connectors.
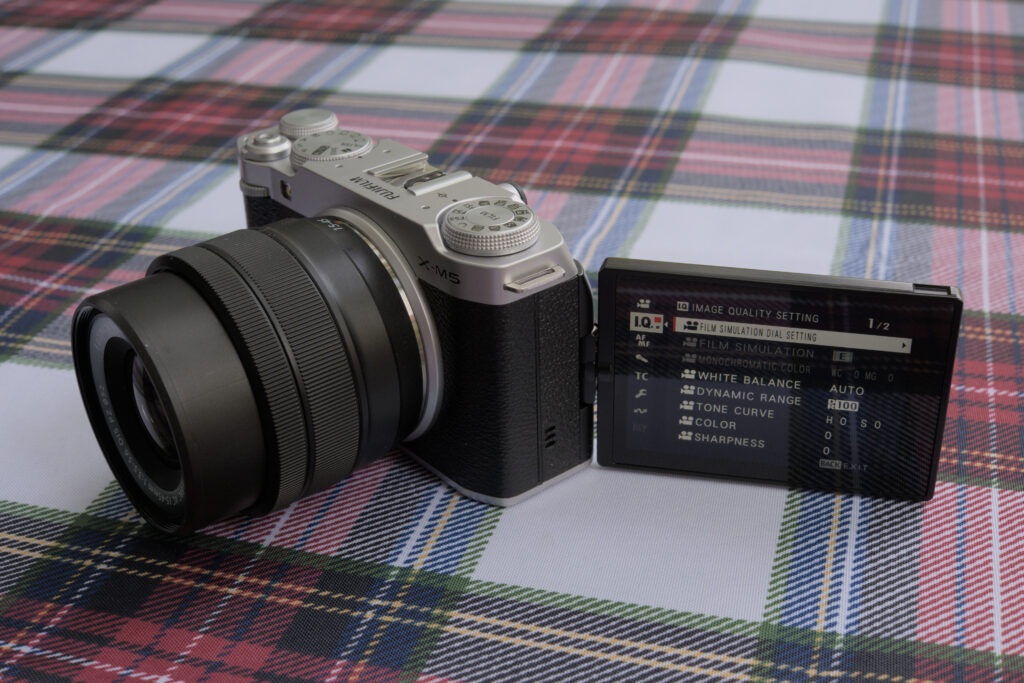
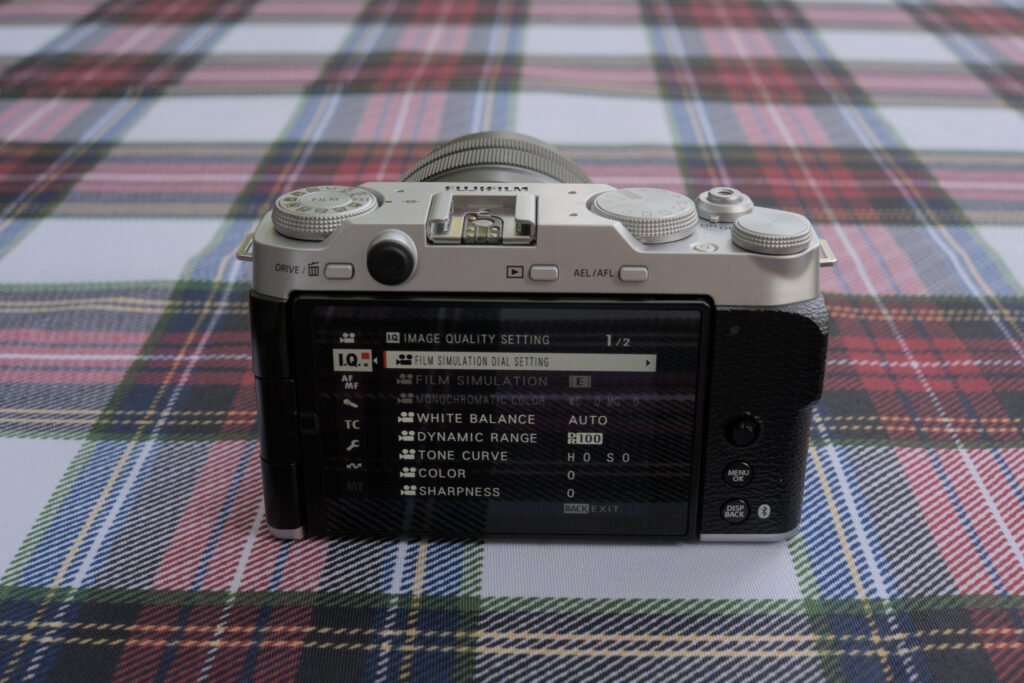
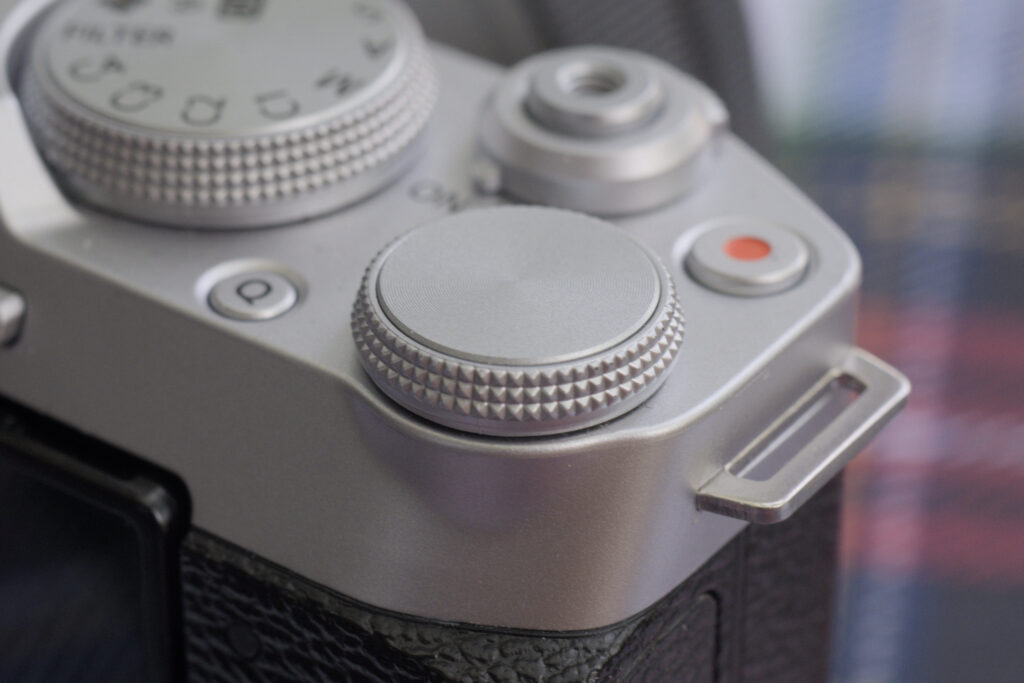
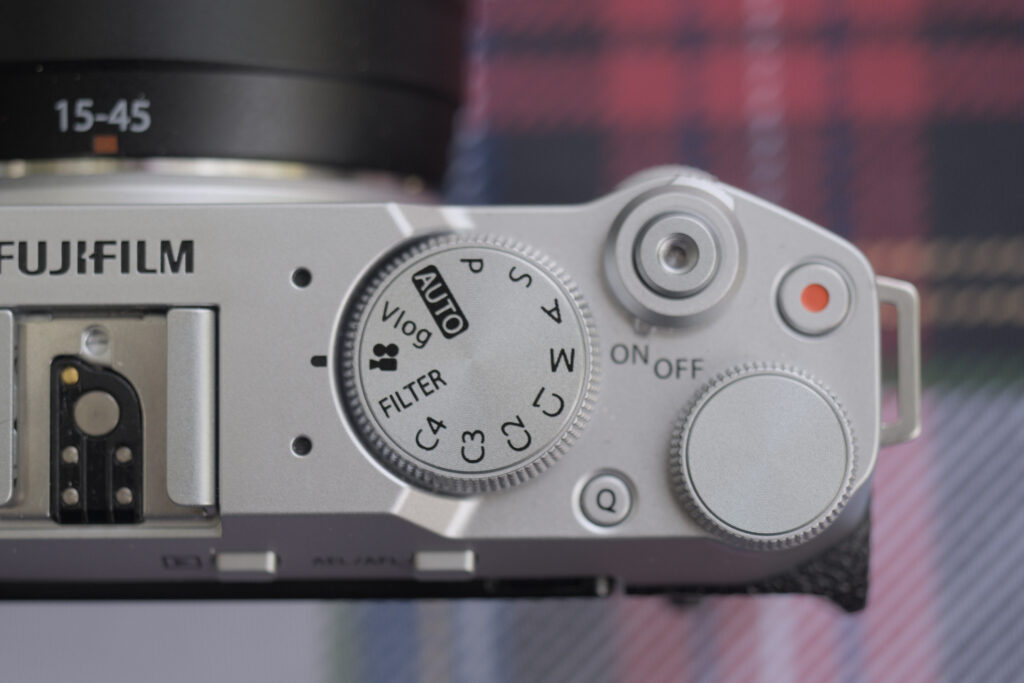
A lot of the user interface goes through the touch screen or through menus, and those familiar with other Fujifilm camera will feel at ease. There are a few dedicated and configurable buttons. There is also the mode dial that allow selecting still modes as well as the full auto, the two video modes vlog and movies, the filter mode and four customizable custom modes, to . The more notable is the film simulation dial on the left side.
To the right of the screen on the rear there are three controls. A joystick and two buttons and all used to access and navigate the menu.
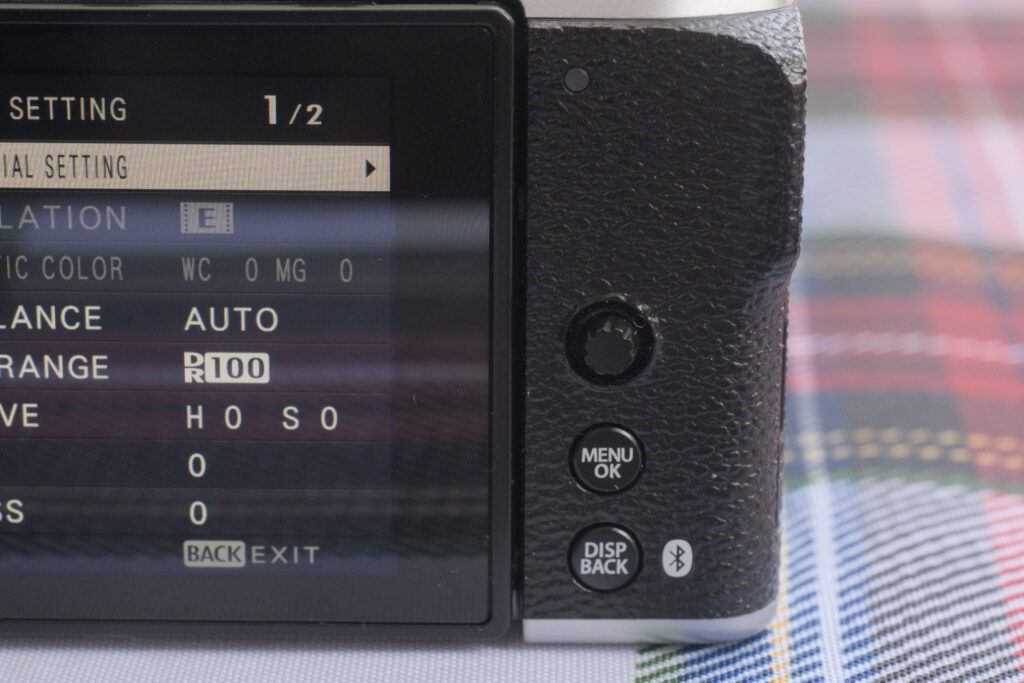
There is no d-pad, but the joystick is used to control focus points, and by default pressing it zooms in manual focus. With my bug hands this gets in the way zooming being triggered way too often. After disabling it to just “center the focus area” it’s better. But I have still found situations where the display inexplicably zooms; bug or some other setting I need to change, I still haven’t found how or why.
The front command dial with the combination of press and dial allows controlling various parameters. By default it changes the exposure (aperture, shutter speed or program shift depending on the mode), and if you press you can toggle to a different parameter like ISO or film simulation (when in film simulation). It is configurable per mode ( ) along with the rear command dial, and can have up to 4 parameters set. Also very long press on the front command dial open the menu to configure it.
The rear command dial by default changes the exposure compensation in and the shutter speed in .
The only parameters that can be assigned to either are (S and M), (A and M), (P), , and . With the front command dial you can assign up to 4 functions and toggle them by a press. The screen will have an indicator showing which of the parameter is changed by the dial (also in blue colour).
A long press on the front command dial will directly lead you to the menu to configure both command dials in . I end up mistakenly doing so far too many times and I just wish I could disable this.
If you use a lens that has an aperture ring, the command dial will only work if the lens is in A mode. Otherwise the aperture set on lens prevails.
The button will bring up the Q menu: quick settings on screen to be changed. The navigation in the Q menu is similar to the other Fujifilm cameras: the joystick or the front command dial change the selected item, and the rear command dial change the value. What the button does can be changed. Long pressing on the when configured to show the Q menu brings the configuration to customize the Q menu.
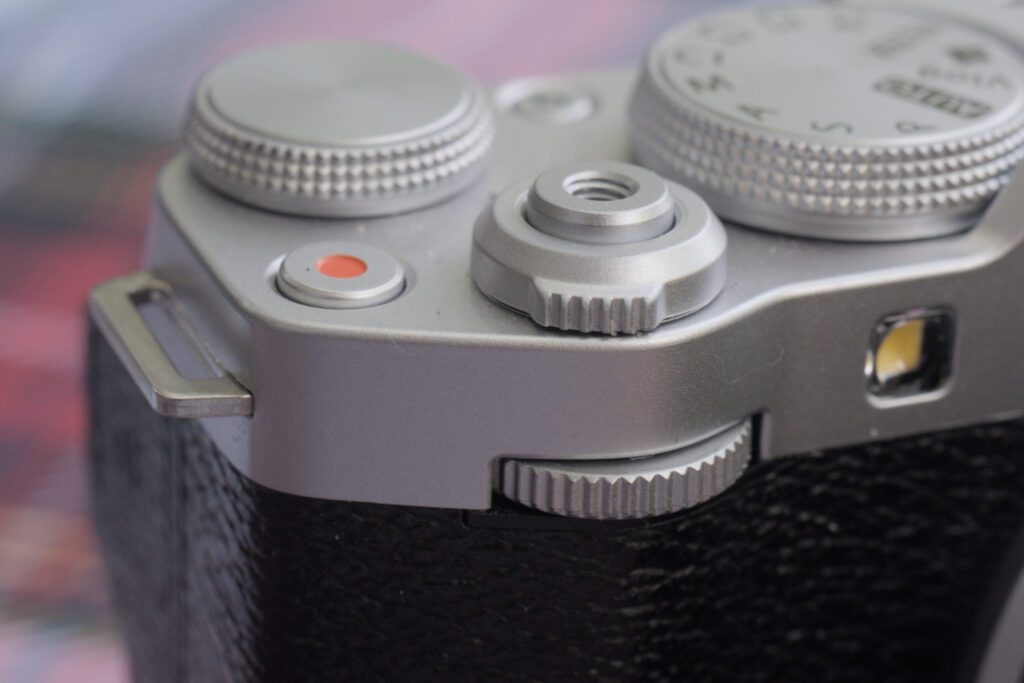
The (record) button will by default start movie recording, even in still mode. This also can be reconfigured to perform a different function.
The button will be default lock exposure and auto-focus. Auto-focus focus lock also trigger the focusing when in manual focus, if applicable. The button can be reconfigured to change what is performed when pressing it.
Then there is the playback button, and the (delete) button. That last one act differently depending whether you are in playback mode or not. In playback mode it is used to enter the delete picture menu. In shooting mode it shows the menu to select the drive mode, which allow selecting a burst mode, bracketing mode, HDR, panorama or multiple exposure. The button has no effect when shooting videos.
Film simulation dial
The X-M5 also feature the film simulation dial that first appeared on the X-T50. The dial position is a hard coded setting, but it offers the mode where the film simulation is set in the menu, and the to positions where you can set a film simulation for each of the mode: still or video. Interestingly in the movie mode (not vlog) the dial is ignored and the simulation is set like in mode.
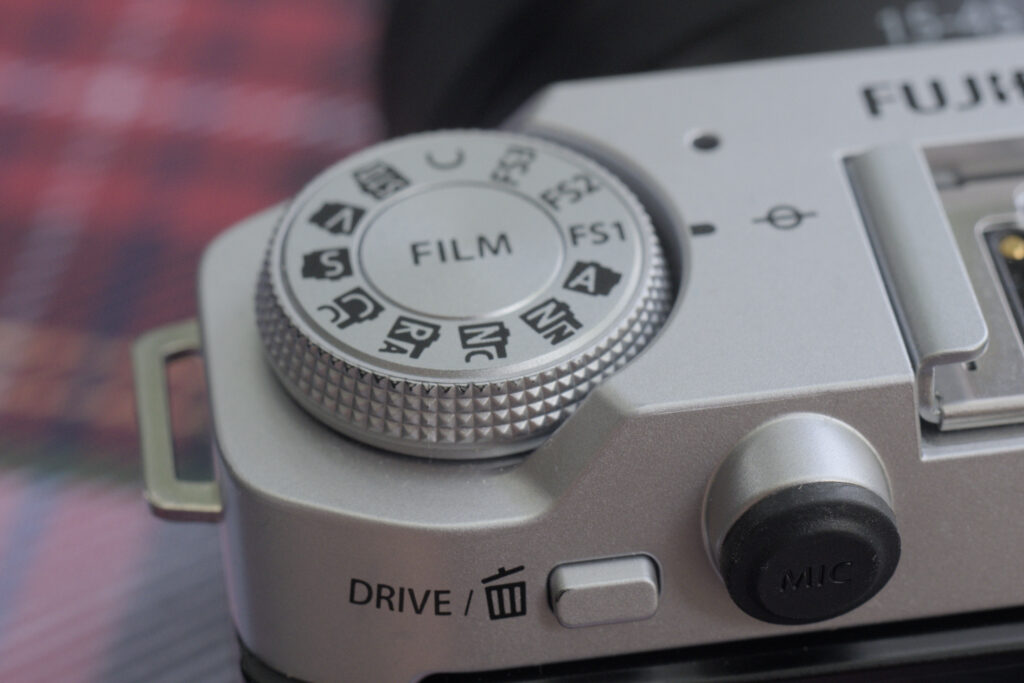
There are a few positions where the film simulation can be changed without turning the dial. is the custom mode. You can use the button, or the front control dial (press, scroll to the position and then you can scroll through the film modes). Both the Acros or black & white film simulations can be configured further in the menu to select the colour filter: (none), (yellow), (red) or (green). The latter isn’t accessible from the dial. There is also a sepia mode.
The to positions allow configuring film simulation for each of Still and Movies, so you can use different simulations between still image mode and vlog without touching the dial.
There is a big missed opportunity: using the to settings for film recipes instead of just the film simulation. Since I started writing this, Fujifilm announced the X-E5. It also has a film simulation dial, and Fujifilm added the film recipes, where you can set all the processing parameters a film recipe consist of for any of the to custom position. On would hope Fujifilm would provide a kaizen update to provide this, it’s definitely not the just released update.
Also the X-M5 is supposed to be for “content creators”, ie for people shooting a lot of video, and I don’t think this is a feature for that use case. I feel it’s an attempt to straddle the two market segments.
Video
I bought the X-M5 for that usage: video.
The camera offers two video mode: and (movie). They have both separate settings including frame rate. Setting the camera in one of the two movie modes make the main shutter button the recording start stop trigger.
I set up the video to shoot 1080p@23.98, aperture priority, Eterna film simulation, plugged in my old Azden shotgun mic, and then shot a sample. It sounds ok, it’s a no-brainer. The X-M5 shoots up to 6.2K “open gate”, only in 3:2 aspect ratio. 4K and and 1080p are available in 16:9 and 17:9 aspect ratio. It supports standard framerates from 23.98P to 59.94P. Also for the content creator part you can shoot vertical video in 9:16 without having to rotate the camera. There is a high-speed recording mode recording in 100P, 120P, 200P and 240P dedicated to slow-motion. It can record in h264 and h265, with PCM or AAC sound, at various bit rates, and you can record in F-Log and F-Log2 or HLG for better colour grading when editing.
The vlog mode adds a few quick access. The short vertical move mode allow toggle quickly the recording mode. In that mode the format switches to mp4 sound recording.
When recording a video, the frame on the screen is red, offering a very visible indicator that it is rolling.
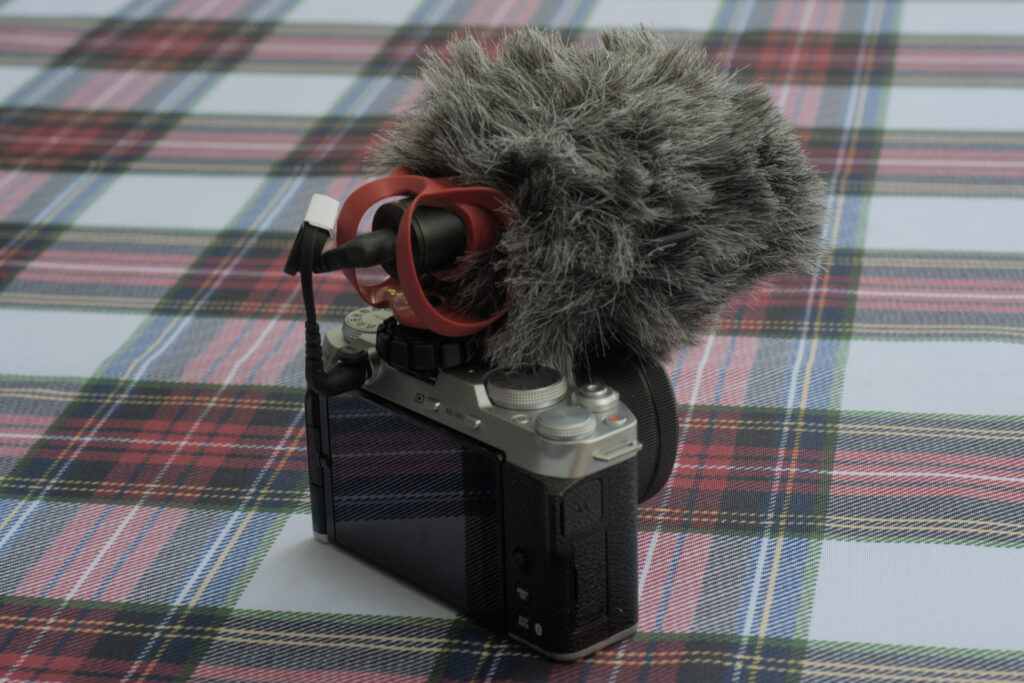
According to the manual, the microphone input doesn’t support phantom power (power through the jack). This is kind of an annoyance as most of the small battery-less camera microphones like Røde’s Video Micro II require this. However, I bought one, and it just work. Maybe it’s a disclaimer that some devices may not work, but I wished there actually was an official compatibility list of some sort.
When the mode dial is one of the still picture mode (, ) you can press the video record button to start filming a video. While this will honour the film simulation mode and other video settings, it will switch to an auto-exposure mode regardless of the the still mode, which have a strong effect on the shutter angle or the depth of field.
Not tested: the X-M5 offer recording (including in raw) over HDMI to external recorders. There is also the option to add a cooling fan (Fujifilm FAN-001) to allow shooting for longer periods of time. Its positioning make the screen always folded out.
Battery life
The X-M5 comes with the NP-W126S battery which is the “small” battery for Fujifilm. People wished it used the NP-W235 like on the X-S20, but its bigger size is really something that would impact the size of the camera.
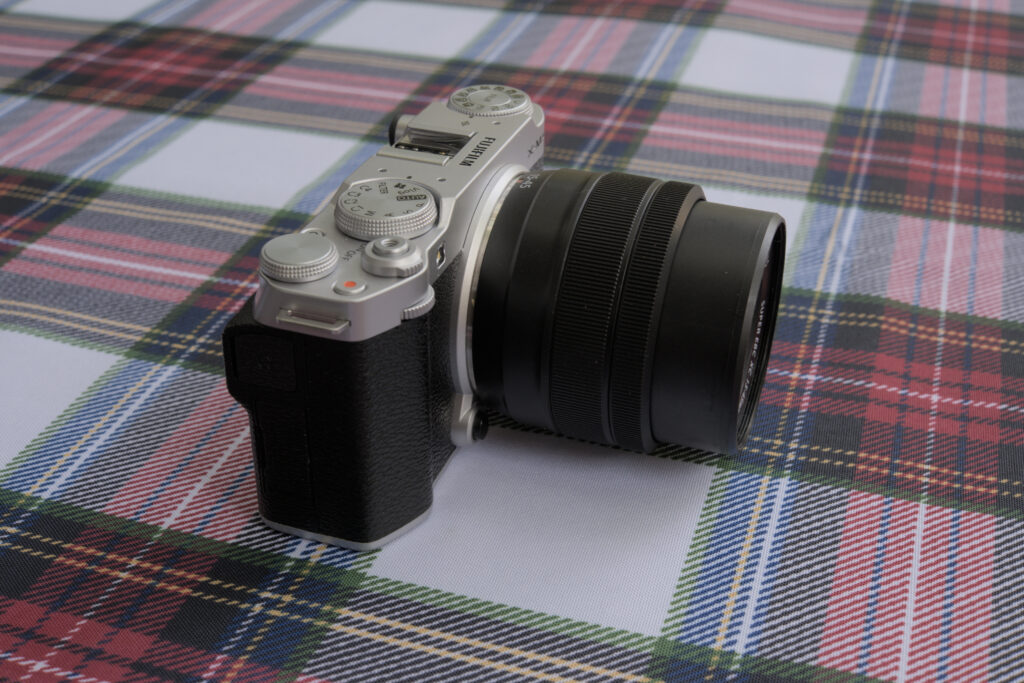
The kit lens
Released in 2017, the XC 15-45mm f3.5-5.6 OIS PZ kit lens is part of the XC series, a less expensive line of lenses. For only CA$120 extra on top of the body only configuration, you get a reasonable multi purpose lens with optical image stabilisation. The light plasticky construction is on par with the price. The zoom is controlled by the wire (motorised), and there is no aperture ring. The focusing ring at the front automatically control the zoom when in autofocus mode. On power up the lens extends to be almost twice as long. At the widest it is the longest and the shortest is in the middle around 24mm, and at 45mm it is still shorter than at 15mm.
The power zoom control is a zoom in / out toggle ring, which I personally don’t like; it’s not dissimilar to the rocker switch found on point and shoot cameras or even camcorders, and regardless of the directional settings, I always turn it the wrong way. Also why can’t I control the zoom form a button on the camera body? Canon got this with the EOS R 50V. I found it to be very slow compared to the manual ring operation of the 18-55 and other zoom I have used. The need for the lens to extend when powering on makes the camera take longer to be ready. You need to be aware of this as you can miss shots due to the camera not being ready.
The lens show some distortion at both ends. The distortion is handled in-camera for the JPEG and movies, and should be with most raw conversion software.
At 15mm there is some strong barrel distortion:
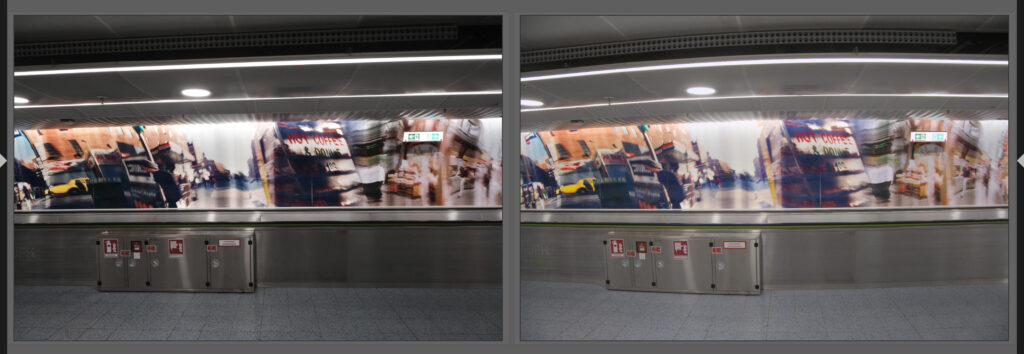
At 45mm there is some pincushion distortion:
Adapted lenses
Like any other X-Series, the X-M5 support using adapted lenses. You need to enable the option in the menus. One of the changes I see from the X-T3 is that you can enter a complete name for the adapted lenses to be added to the image metadata. While this doesn’t impact anything when it comes to picture taking it’s a very nice detail for those that are a stickler for metadata. It’s not unique to the X-M5 as it is also on other cameras more recent than the X-T3.
The camera doesn’t automatically switch to manual focus when you use an adapted lens. You need switch to using the menu, and make sure you have manual focus assist like focus peaking enabled: it’s only enabled in manual focus.
Conclusion
It is a small compact camera, well priced, that is completely compatible with the Fujifilm X system. Its video capabilities are quite extensive, better than many of the competition more expensive cameras. The lack of EVF wouldn’t make me choose this camera for photography. If you really are on a budget and/or want the flip out screen for video, this is the one as it is as capable as the more expensive model. Feature wise the X-S20 would bring a bigger battery and an EVF, minus the vlog mode.
Like
– Priced well.
– Size.
– Good performance for the size / price.
– Fully articulated screen.
Meh
– The film simulation dial.
Dislike
– The box content: no charger nor cable to charge, no paper manual.
– No EVF.
Good to know
– Not the latest X-Trans sensor, only 26 megapixel.
– No IBIS.
Comparables
At CA$1079 body only or CA$1199 with the kit lens, the Fujifilm X-M5 competes in the same segment as the Sony ZV-E10 (CA$899) and ZV-E10 II (CA$1399), the Canon R50 V (CA$1279 with kit lens) and Nikon Z30 (CA$879). The Panasonic S9 (CA$2149) and Sony ZV-E1 (CA$2999) represent a higher end of the “content creator” segment with a full frame sensor and the higher price tag attached.
Images
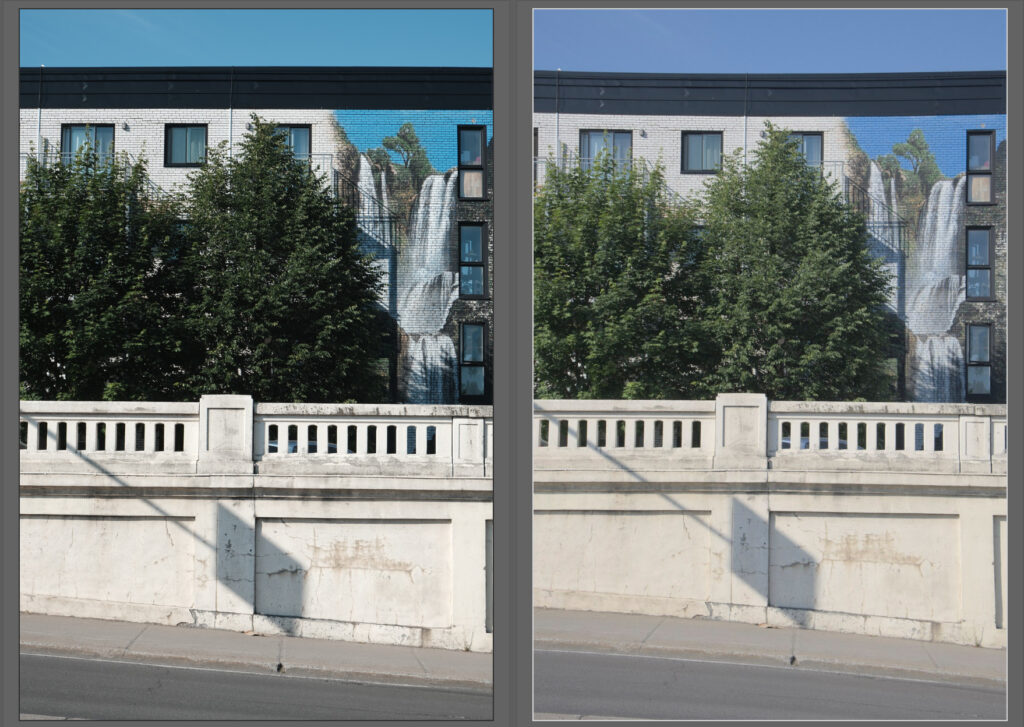
I took the X-M5 on a quick work trip to Europe and I used it more for video than stills as I also had the X-T3. The viewfinder really matters. Here are some images taken with the X-M5, straight out of camera JPEG (one was HEIF, converted to JPEG). The black & white one was accidental as apparently I bumped into the film simulation, and while the display showed it, the combination of dull overcast weather and outdoor readability of the LCD made that I didn’t realise at the time. Worked out better that way though.